Replacing Google Forms with Appsmith
-without breaking existing integrations!
Part of the Appsmith series

Google Forms is widely used in various integrations and workflows that all start with capturing data and sending it to a Google Sheet.
Whether it’s a contact form embedded on your website, a registration form to share on social media, or something more advanced- the general principle is the same. Give the user some input fields and a suitable UI, capture the response and send the data to a spreadsheet.
From there, all kinds of integrations, automations and workflows are possible. But regardless of the use case, the Google branding is pretty noticeable. Even with a form embedded in an iframe on your own site, the bottom of the form clearly states that it was built with Google Forms.
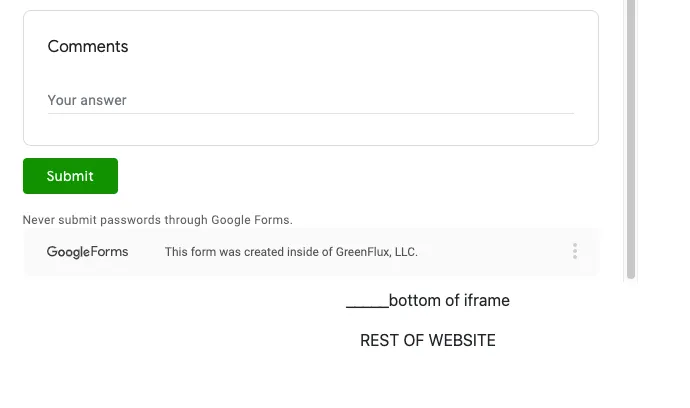
So how do you replace the form with something that has your own branding, without breaking the integrations that rely on Google Sheets as a datasource?
with Appsmith!
Add APIs
-
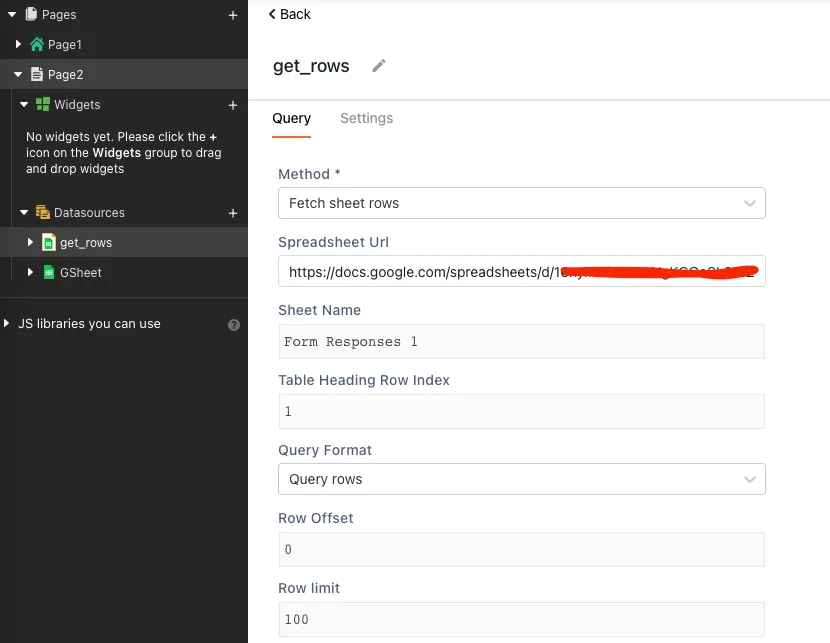
Start a new Appsmith app and add a new API:
Datasources> Create New> Google Sheets > Fetch Rows -
Use the URL from your existing Responses Sheet that is linked to your Google Form
-
Run the API and verify the response
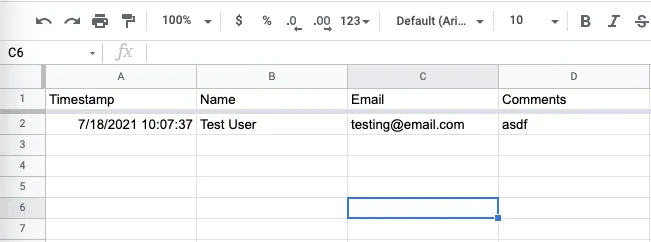
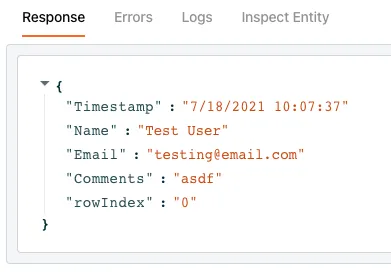
-
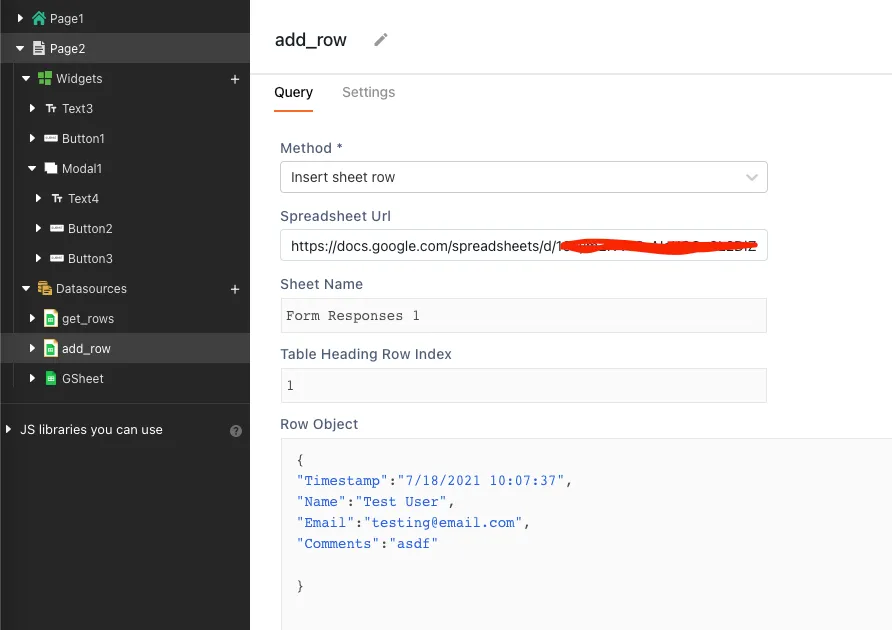
Now, Copy the API, and change the method to
Insert Row -
Copy the Response from the
get_rowsAPI into the Row Object of theadd_rowAPI. -
Remove the
RowIndex(not needed for Insert row) -
Add commas after each property in the Row Object template (except the last one)
-
Run the API and verify a new row was added to the sheet
You should have a new row in added to your sheet, using the hard-coded data we just added to the template. Now, let’s add a form to capture the inputs. Then we can come back to the template and bind the inputs.
Create Form
-
Change Layout Size to Mobile (smaller for iframe)
-
Add a new Button-Widget to the Page
-
Button Settings:
OnClick> Open Modal> New Modal -
Change Modal type to Form
-
Add Inputs to Form
-
Bind Submit button to
add_rowAPI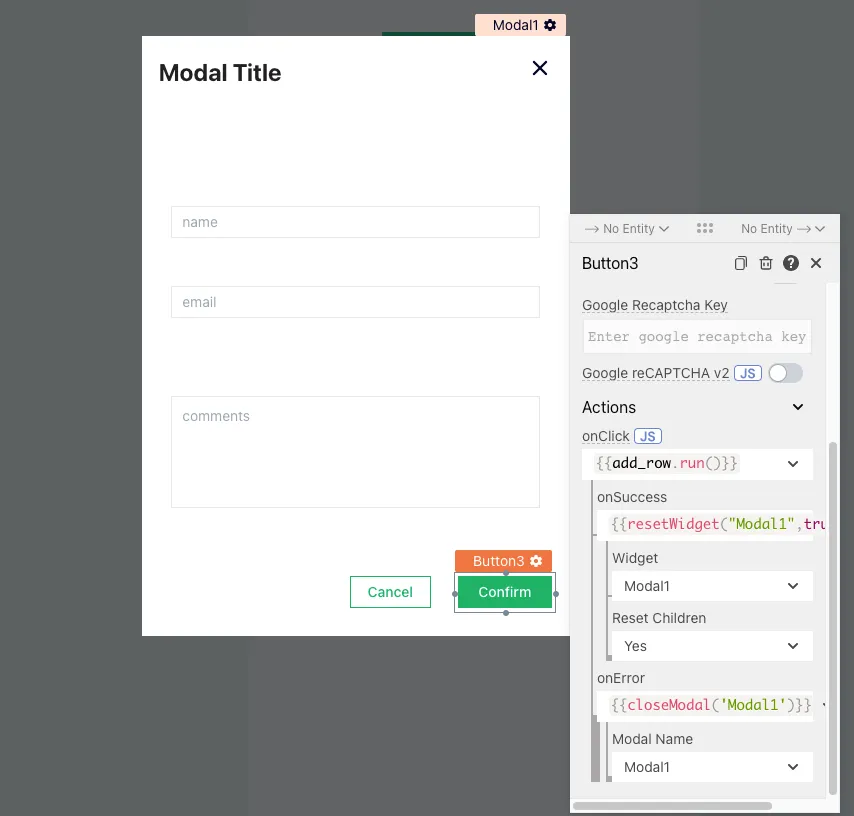
-
Update API body template to bind inputs
{
"Timestamp": "{{moment().format('MM/DD/yyyy hh:mm:ss')}}",
"Name":"{{name.text}}",
"Email":"{{email.text}}",
"Comments":"{{comments.text}}"
}- DEPLOY! 🚀
Ok, now we have a working replacement for our Google Form.
Next, either set your app to share publicly, or add the users you want to have access to the form.
If your previous integration was embedded in an iframe, you can replace it with the new app using this format:
<iframe src="https://app.appsmith.com/applications/{{APP_ID}}/pages/{{PAGE_ID}}?embed=true" height="700" width="100%"></iframe>
Note the
embed=trueparameter. This removes the Appsmith top bar so you can add your own branding.
Docs:embed-appsmith-into-existing-application
Using this guide, you should be able to replace a Google Form with an Appsmith app and continue adding rows to the same sheet. So any integrations that rely on data in that spreadsheet should continue to work.
However, if you were using an onSubmit() trigger you may have to replace that with a webhook from Appsmith.