Offline AI Chat with Local RAG from the Terminal
Retrieving Data from Markdown Files using Ollama on MacOS
Part of the Markdown Mastery series

There are plenty of online AI services like ChatGPT that make it easy to chat with your documents, using Retrieval Augmented Generation (RAG) to improve the LLM response. But these all require sending your data to a 3rd party, and usually involve a subscription fee. If you’re just wanting to experiment, or working with sensitive data, paying for an online service may not be the best option. In cases like this, running the model locally can be more secure and cost effective. In this guide, I’ll show how you can use Ollama to run models locally with RAG and work completely offline.
Ollama is an open source program for Windows, Mac and Linux, that makes it easy to download and run LLMs locally on your own hardware. Once installed, you can download various models, and begin chatting with them in the terminal, or integrate with the API.
This guide will cover:
-
Installing Ollama on MacOS
-
Downloading and prompting various models from the terminal
-
Extracting text from local markdown files for RAG
-
Sending the markdown with a prompt
-
Saving the LLM response to a new file
-
Chaining outputs to perform retrieval, prompting, and saving response in one command
For this guide I’ll be using a folder of markdown notes created with Obsidian, but you can use this same technique with any local documents. For models, I’ll be testing the new DeepSeek-r1:1.5b model, and llama3.2:1b— both small enough to run locally without a high-end GPU.
Installing Ollama on MacOS
Start out by downloading Ollama and installing it.

Once the download finishes, move the Ollama.app file to your Applications folder, then open it. Then click through the installer and approve the drive access. You’ll notice a new llama icon in the menu bar, with a single option to Quit Ollama.
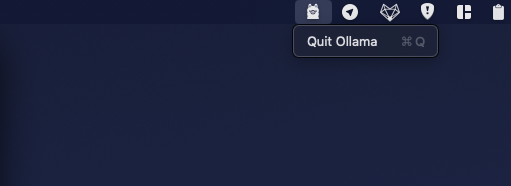
There’s no other GUI— everything else is done from the terminal.
Downloading and Prompting Models
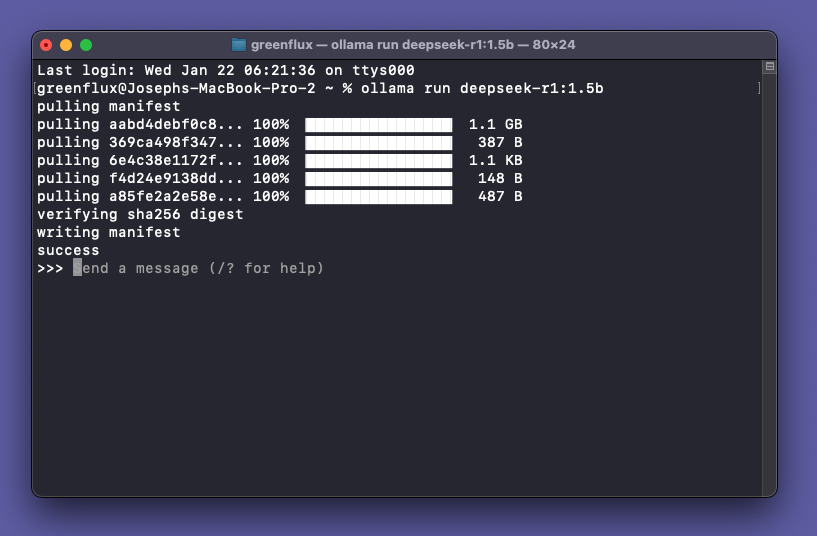
Next, open the terminal and run:
ollama run deepseek-r1:1.5bThis will download the smaller, 1.5 billion parameter DeepSeek model, then run it and let you begin prompting from the terminal. You’ll see several files download the first time running a model, but after that it should load quickly and be ready to start prompting.
Type any text prompt and hit enter. You’ll see the model begin responding with a stream of text wrapped in <think> tags. The r1 series are reasoning models, similar to OpenAI’s o1 model that uses a chain of thought before replying. However, unlike OpenAI’s model, DeekSeek actually returns that chain of thought in the response so you can see what reasoning was used.
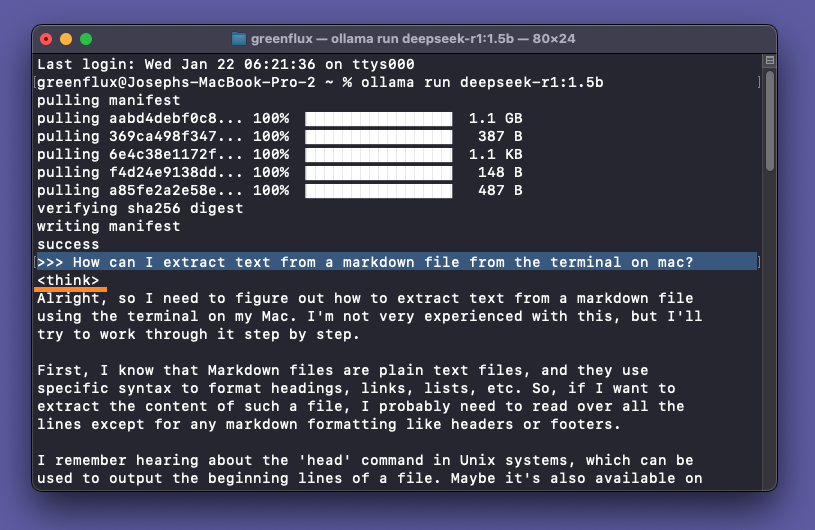
Scroll down and you should see a closing </think> tag, followed by the actual response from the LLM, after reasoning through the query.
Installing other models
Type /bye to exit the chat and hit enter to return to the Mac terminal. Next we’ll run the Llama3.2:1b model. This time we’ll start up the model and provide an initial prompt. Just add a prompt wrapped in double-quotes, after the model name.
ollama run llama3.2:1b "How can I extract text from a markdown file from the terminal on mac?"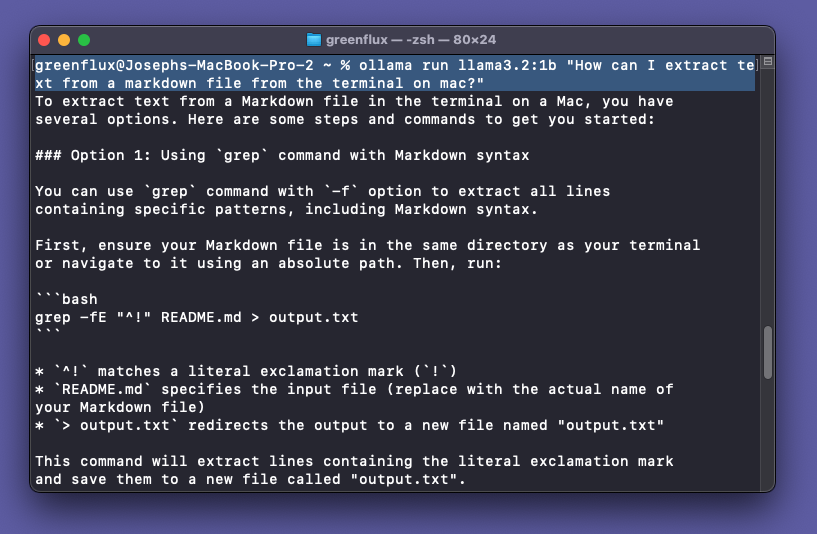
Type /bye again to return to the Mac terminal.
Extracting text from local markdown files for RAG
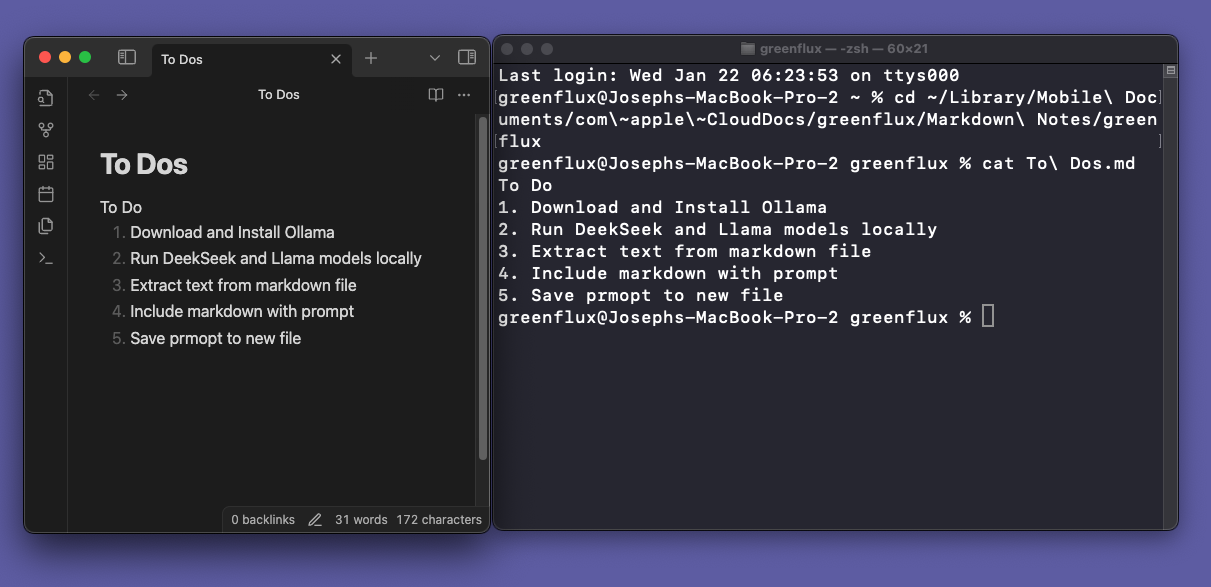
Next we’ll pull text from a local markdown file. You’ll want to change to the directory containing your markdown file first, to make the terminal commands a little easier. In my case, the file is in iCloud, which can be a little tricky to find on Mac. To find it, enter:
cd ~/Library/Mobile\ Documents/com\~apple\~CloudDocsFrom there you should be able to use ls and cd to find the correct folder path to anything in iCloud.
Once you’re in the right folder, run the following command, replacing FILENAME.md with your file and extension. You can use .txt or .md files easily without needing any other tools.
cat FILENAME.mdUse a backslash to escape any spaces in the filename, i.e. cat To\ Dos.md . You should see the contents of the file returned in the terminal.
PDFs and CSV’s can also be done using other libraries, but that’s beyond the scope of this guide.
Sending the markdown with a prompt
Next, we’ll pipe the output of the cat command to the ollama run command, in order to start the model with a prompt AND include data from the markdown file for retrieval augmented generation.
Run the following command, inserting your filename:
cat To\ Dos.md| ollama run llama3.2 "How do I do #5?"This will read the contents of the To Dos.md file, and append it to the prompt string.
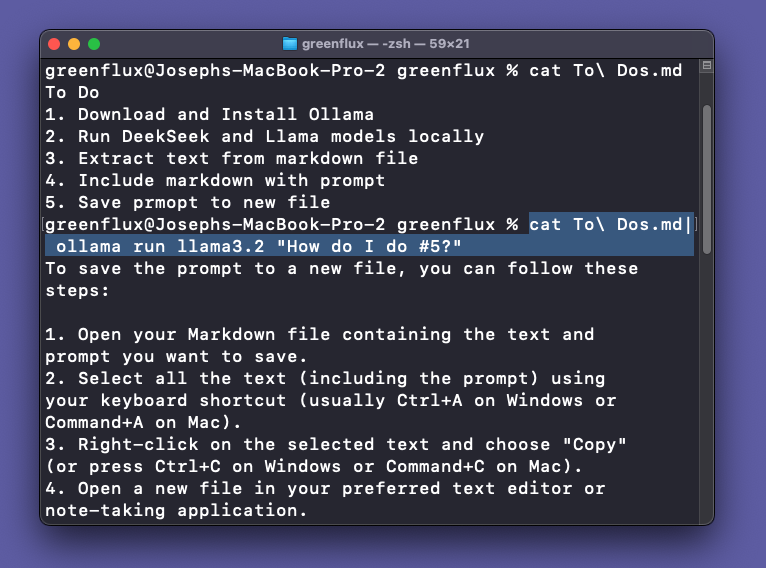
This allows you to go from the Mac terminal, directly to a response from the LLM, using RAG with a local file.
Saving the LLM response to a new file
Lastly, we’ll save the output of the LLM to a new markdown file. This part is really complicated, so this might be a good time to take a break and grab a coffee. ☕️
Ok, ready for the hard part? Simply add > response.md to the previous command! This will save the output to a new file in the same directory. It’s that easy!
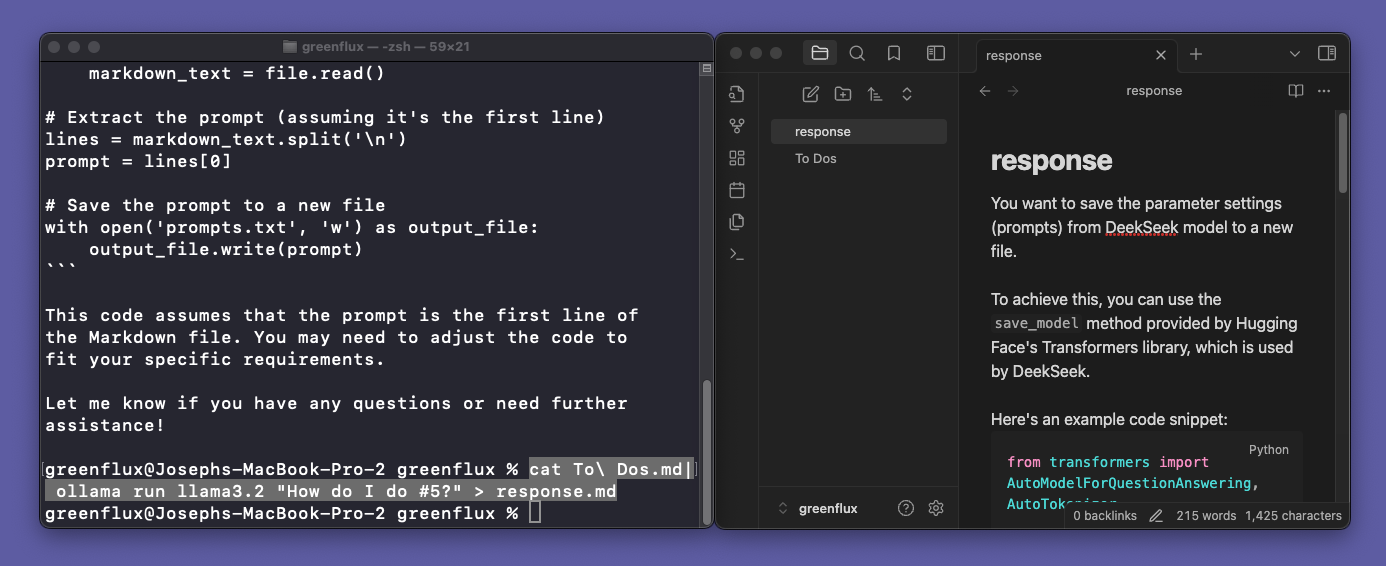
The really cool thing is that this completes the chain (read file, send prompt, save response), and returns you right back to the Mac terminal so you can run the next file, or perform any other followup actions from the terminal. There’s no need to wait for the response to finish and type /bye to exit the LLM chat.
Conclusion
Ollama makes it easy to run models locally, enabling new use cases and avoiding the privacy concerns and cost associated with 3rd party AI services. Additionally, the models work completely offline, and many of the smaller models run great on standard hardware— without the need for an expensive GPU. This approach is great for hobby work or privacy conscious developers who want more control over their data.